When an exterior stile and rail door includes glass, it may also include a glazing compound. The glazing compound waterproofs the glass to the wood parts of the door so finding excess glazing compound around the edges of the glass is expected. But why is that there?
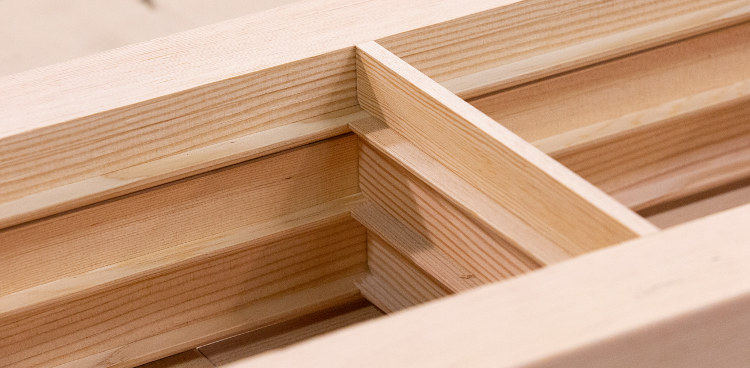
When manufacturing the stiles and rails, the components are moved through equipment that machines the sticking profiles into the door. If the door is expected to have glass installed, only one side of the stile/rail is prepped for sticking, known as the solid sticking. This allows the glass to easily be placed into the door once all the components are assembled.
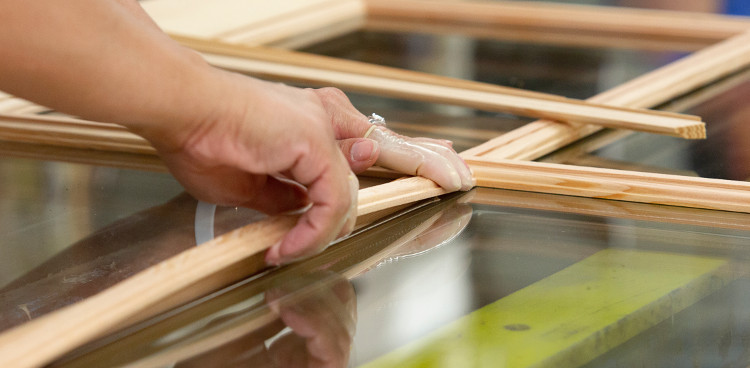
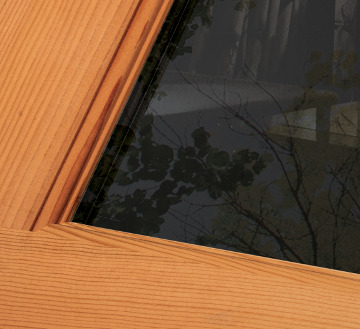
A glazing compound, which is similar to a caulk, is applied to the solid sticking side of the door. The glass is bedded into the opening and pushed into the compound to ensure there is a tight seal. During this process, the glazing compound will fill in the areas between the wood parts and the glass and will “squeeze out” around the glass lite. At the time of glass installation (glazing) the glazing compound is somewhat runny and sticky and it needs several days to set-up, so it cannot be removed immediately.
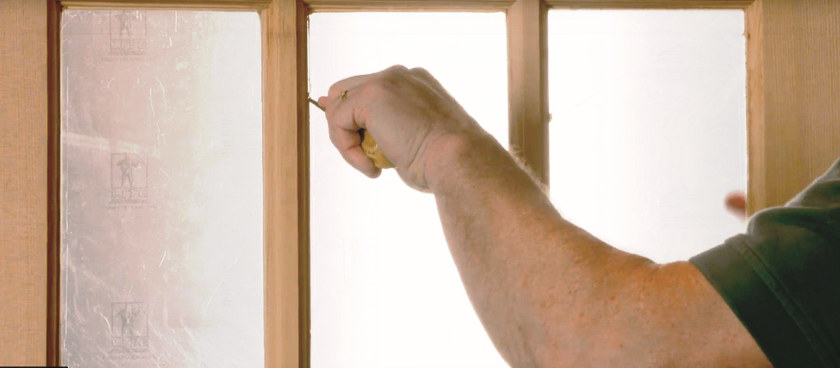
A secondary line of glazing compound is added to the open side of the glass and a glazing bead, a piece of wood that has the sticking profile, is nailed into place to hold the glass. With glazing compound on both sides of the door, chance of water getting around the glass is minimized or eliminated and it helps with a superior finish in that stain or paint will not seep down behind the stick or the glazing bead.
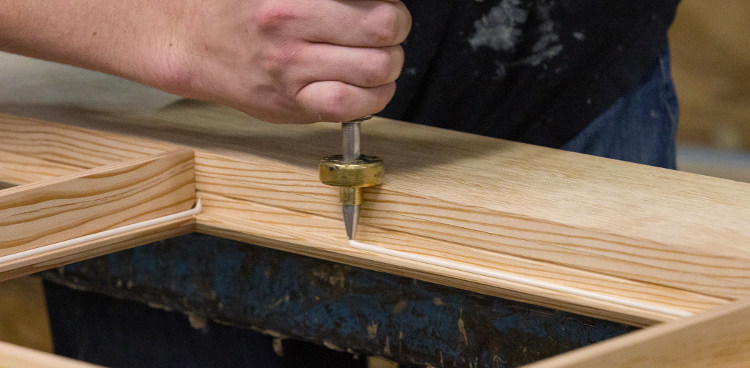
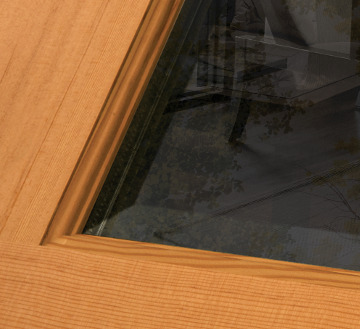
This compound should be removed prior to finishing the door. It is incorrect to use a razor knife or a razor scraper to remove glazing squeeze out because it will damage the door, scratch the glass, and can create issues for the glazing compound. The proper tool to use is an awl, which is round with a sharp point. To remove the glazing compound, simply press the awl firmly against the glass and run around the edge of the glazing bead or the sticking. This will leave a nice transition from the glass to the glazing compound to the wood components and allows a good “lap” of finish onto the glass. After running the awl around the perimeter of the glass, use a plastic scraper to lift the compound off the glass. Spraying the glass with glass cleaner will help protect the glass and keep things clean.
While flat glass is most popular, textured glass offers a dramatic and tactile design option. As the name would suggest, textured glass has one side that is not flat due to the texture of the glass. It used to be common practice for the texture to be on the exterior side of the door but due to best glazing practices, the texture is placed to the interior side of the home. Beveled glass is considered the same as flat glass so the bevels will be to the outside of the home.
Flat Glass
Beveled Glass
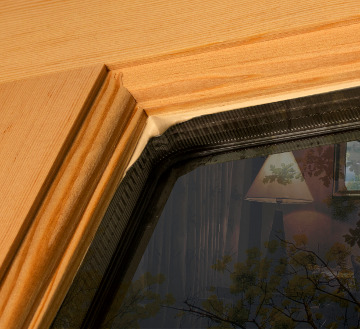
The process of using glazing compound on both sides of the door is called “double bedding”. As noted above, this allows either side of the door to be to be considered exterior. Why is this important? When hanging an exterior non Water-Barrier door, the solid sticking will always be placed to the exterior side of the unit. Water Barrier doors have an MDO (medium density overlay) applied on the exterior side of the door for superior painting results and for a contiguous skin to help eliminate stile and rail movement especially in extreme exposures. Due to the construction employed in making this kind of door, the glazing bead will be to the outside and the solid sticking will be to the inside. Either way, Reeb Simpson doors are designed and engineered to offer the best in durability.
Typical Exterior

WaterBarrier® Exterior